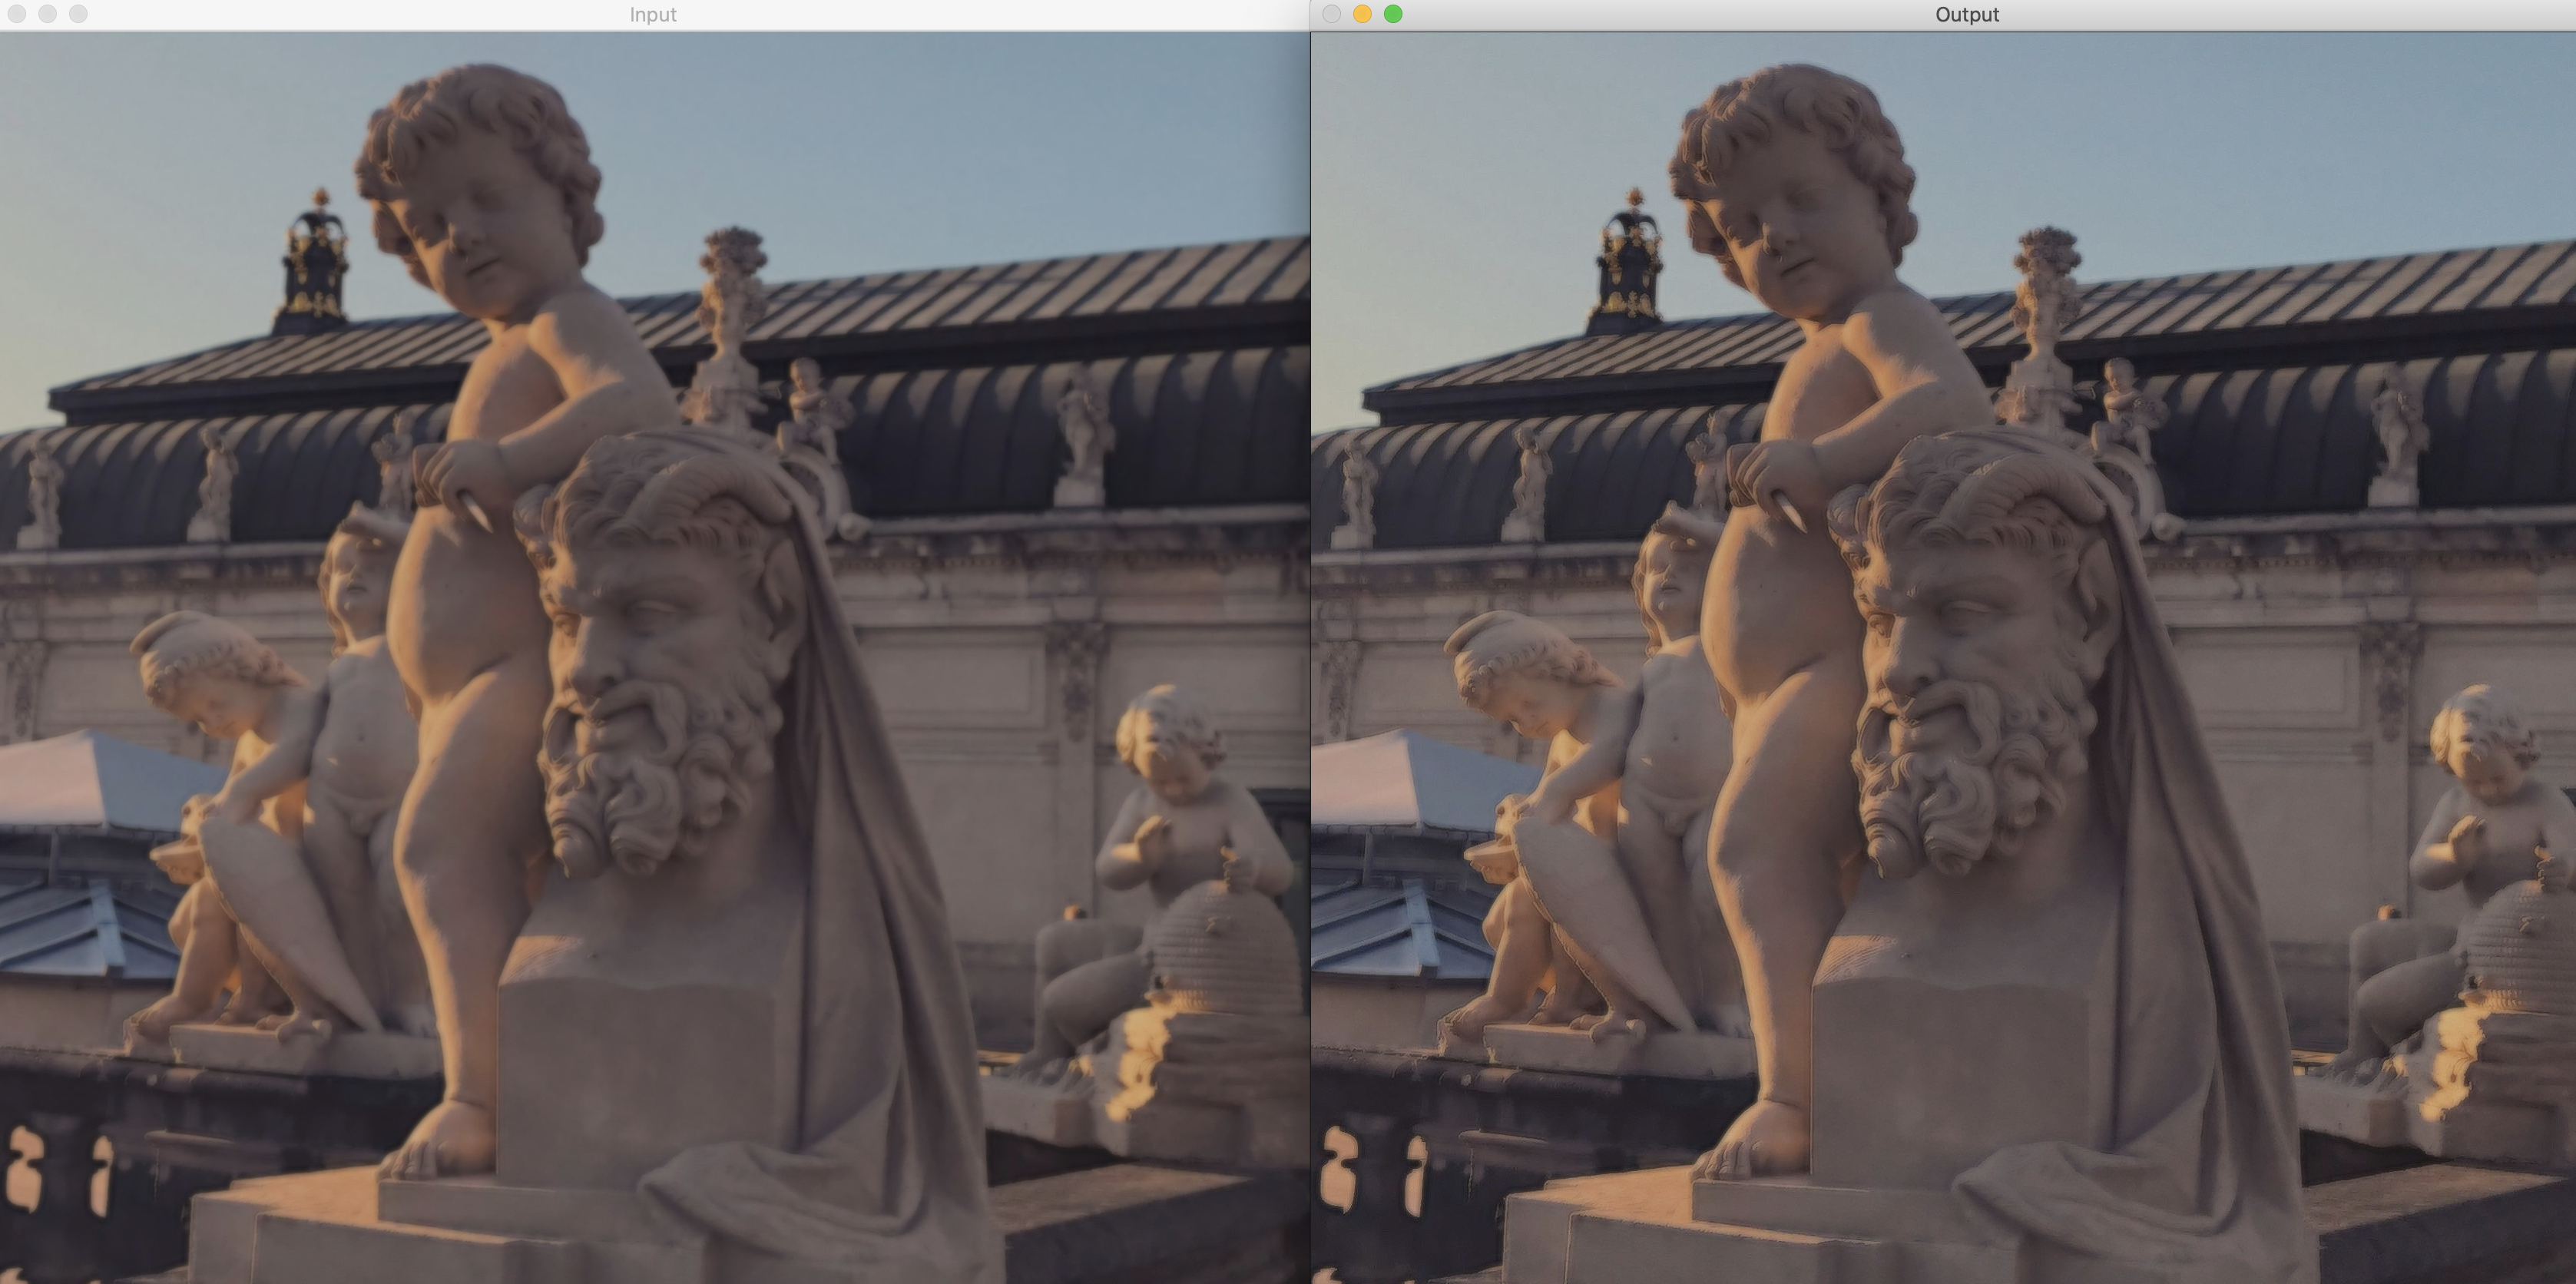
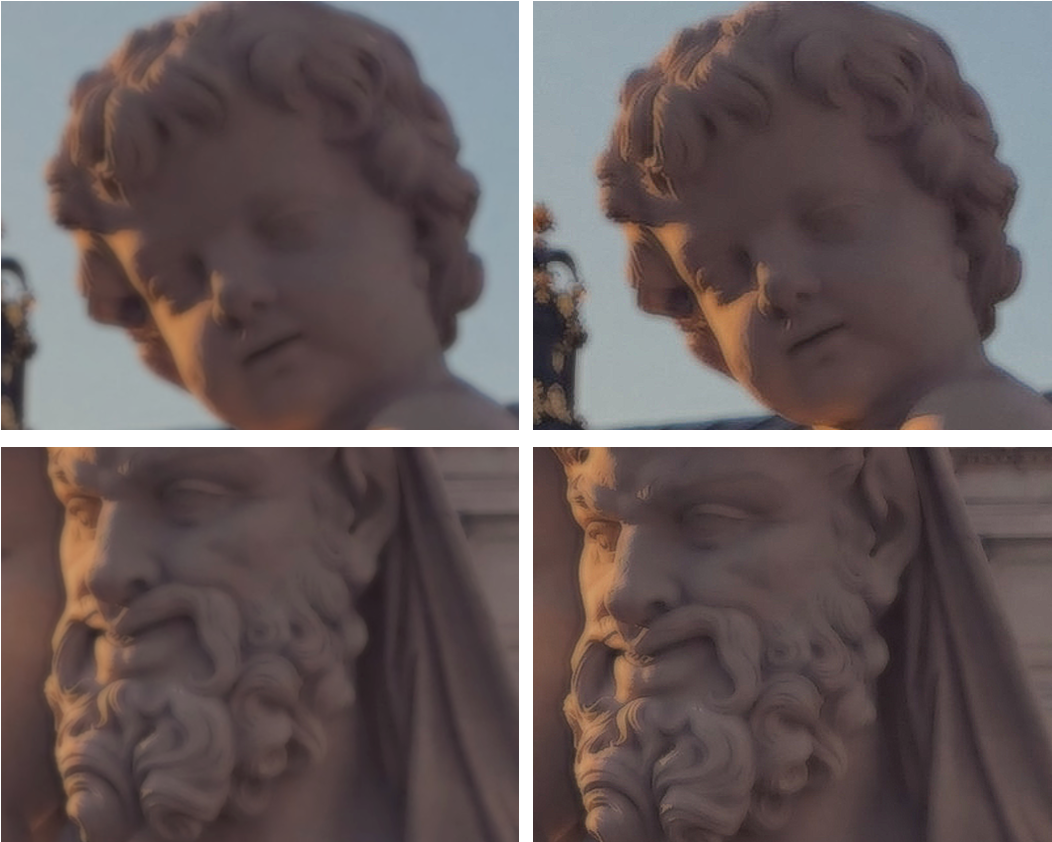
-
[The Core Functionality] Mask Operations on MaticesComputer Vision 2020. 7. 25. 18:55
https://docs.opencv.org/master/d7/d37/tutorial_mat_mask_operations.html
OpenCV: Mask operations on matrices
Prev Tutorial: How to scan images, lookup tables and time measurement with OpenCV Next Tutorial: Operations with images Mask operations on matrices are quite simple. The idea is that we recalculate each pixel's value in an image according to a mask matrix
docs.opencv.org
행렬에 대한 마스크 작업은 매우 간단하다.
아이디어는 마스크 매트릭스 (Kernal ) 에 따라 이미지의 각 픽셀 값을 다시 계산하는 것이다,
이 마스크에는 인접한 픽셀이 새 픽셀 값에 미치는 영향을 조정하는 값이 있다.
Consider Issue of an Image Contrast Enhancement Method.
기본적으로 이미지의 모든 픽셀에 다음 공식을 적용한다.
공식을 사용한 방법.
I ( i , j ) = 5 ∗ I ( i , j ) − [ I ( i − 1 , j ) + I ( i + 1 , j ) + I ( i , j − 1 ) + I ( i , j + 1 ) ]
마스크를 사요앟여 첫번째 공식의 압축 버전.

https://docs.opencv.org/master/d7/d37/tutorial_mat_mask_operations.html 계산하려는 픽셀에 마스크 매트릭스의 중심의 중심을 놓고 마스크 값을 곱한 값고 ㅏ중첩 된 매트릭스 값을 곱하여 마스크를 사용한다.
직접 구현하기
    CV_Assert(img.depth() == CV_8U); //accept only uchar images
    const int nChannels = img.channels();
    Result.create(img.size(), img.type());
처음에 입력 이미지 데이터가 unchar 문자형식인지 확인해야한다.
그리고 입력과 크기 및 유형이 같은 출력 이미지를 선언한다.
또한 포인터를 통해 반복할 것이므로 총 elements의 수는 이 숫자에 달려있다.
    for(int j=1; j<img.rows-1; ++j){
        const uchar* previous = img.ptr<uchar>(j-1);
        const uchar* current = img.ptr<uchar>(j);
        const uchar* next = img.ptr<uchar>(j+1);

        uchar* output = Result.ptr<uchar>(j);
        for(int i=nChannels; i<nChannels*(img.cols-1); ++i){
            *output++ = saturate_cast<uchar>(5*current[i]
                                             -current[i-nChannels]-current[i+nChannels]-previous[i] - next[i]);
        }
    }
C[] 연산자를 사용해서 픽셀에 엑세스한다.
동시에 여러 행에 액세스 해야하므로 각 행에 대한 포인터를 얻는다.
계산을 저장할 위치에 대한 다른 포인터가 필요하다.
그런 다음 []연산자로 올바른 ㅎ아목에 액세스 한다.
출력 포인터를 앞으로 움직이려면 각 작업후에 1바이트씩 늘려야한다.
    Result.row(0).setTo(Scalar(0));
    Result.row(Result.rows-1).setTo(Scalar(0));
    Result.col(0).setTo(Scalar(0));
    Result.col(Result.cols-1).setTo(Scalar(0));
이미지 경계에서 존재하지 않는 픽셀위치(-1, -1 )을 발생시킨다. 따라서 이때의 공식이 정의되지 않으므로 , 이 때는 커널을 적용하지 않고 테두리의 픽셀을 0으로 설정한다.
OpenCV 라이브러리 fiter2D 의 기능
Open CV에는 마스크(커널)를 적용하는 기능이 있다.
이를 위해 먼저 마스크를 보유하는 객체를 정의하고,
   Mat kernel = (Mat_<char>(3,3) << 0, -1, 0,
                                     -1, 5, -1,
                                      0, -1, 0);
    filter2D(src, dst1, src.depth(), kernel);
입력, 출력 이미지 및 커널을 지정하여 fiter2D() 함수를 호출한다.
filter2D() 함수의 추가적 인자로
다섯번째 인자는 커널의 중심을 지정,
여섯번 째 인자는 필터링된 픽셀을 K에 저장하기 전에 선택적 값을 추가한다
일곱 번째 인자는 작업이 정의 되지 않은 영역에서 수행 할 작업을 결정한다
대상 이미지를 Sharp하게 만들기.
//
//  main.cpp
//  test
//
//  Created by Kana Kim on 2020/07/25.
//  Copyright © 2020 Kana Kim. All rights reserved.
//

#include <iostream>
#include <opencv2/imgcodecs.hpp>
#include <opencv2/highgui/highgui.hpp>
#include <opencv2/imgproc.hpp>

using namespace std;
using namespace cv;

void Sharpen(const Mat& img, Mat& result);

int main() {
    Mat src, dst0, dst1;
    src = imread("dresden.jpg",IMREAD_COLOR);
    if(!src.data){
        cout<<"Could not open or find the image"<<endl;
        return -1;
    }
    namedWindow("Input", WINDOW_AUTOSIZE);
    namedWindow("Output", WINDOW_AUTOSIZE);
    imshow("Input", src);
    double t = (double)getTickCount();

    Sharpen(src,dst0);

    t = ((double)getTickCount()-t)/getTickFrequency();
    cout<<"Hand written function time passed in second : "<<t<<endl;

    imshow("Output", dst0);
    waitKey();

    Mat kernel = (Mat_<char>(3,3) << 0, -1, 0,
                                     -1, 5, -1,
                                      0, -1, 0);
    t = (double)getTickCount();
    filter2D(src, dst1, src.depth(), kernel);
    t = ((double)getTickCount()-t)/getTickFrequency();
    cout<<"Built-in filter2D time passed in seconds : "<<t<<endl;
    imshow("Output", dst1);
    waitKey();

    return EXIT_SUCCESS;
}

void Sharpen(const Mat& img, Mat& Result){

    CV_Assert(img.depth() == CV_8U); //accept only uchar images
    const int nChannels = img.channels();
    Result.create(img.size(), img.type());

    for(int j=1; j<img.rows-1; ++j){
        const uchar* previous = img.ptr<uchar>(j-1);
        const uchar* current = img.ptr<uchar>(j);
        const uchar* next = img.ptr<uchar>(j+1);

        uchar* output = Result.ptr<uchar>(j);
        for(int i=nChannels; i<nChannels*(img.cols-1); ++i){
            *output++ = saturate_cast<uchar>(5*current[i]
                                             -current[i-nChannels]-current[i+nChannels]-previous[i] - next[i]);
        }
    }
    Result.row(0).setTo(Scalar(0));
    Result.row(Result.rows-1).setTo(Scalar(0));
    Result.col(0).setTo(Scalar(0));
    Result.col(Result.cols-1).setTo(Scalar(0));

}

'Computer Vision' 카테고리의 다른 글
[The Core Functionality] Adding (blending) two images using Open CV (0) 2020.07.25 [The Core Functionality] Operations with Images (0) 2020.07.25 [The Core Functionality] How to scan Images, Lookup tables with Open CV (0) 2020.07.25 [Introduction to OpenCV] Load, Modify, and Save an Image (0) 2020.07.25 [ Introduction to OpenCV ] Load and Display an Image (0) 2020.07.25